Settings
We want NovelPad to look and feel like your own space. On the Settings screen, you can customize the aesthetics of your Manuscript to suit your tastes (or to try out the Comic Sans trick and see if it really does make you more productive!). The Settings screen is also where you can set your editor preferences, customize your color labels, and access an onboarding tutorial.
Settings defined on this screen only apply to the novel you're selecting them in. You can choose different settings for each of your novels!
Formatting settings
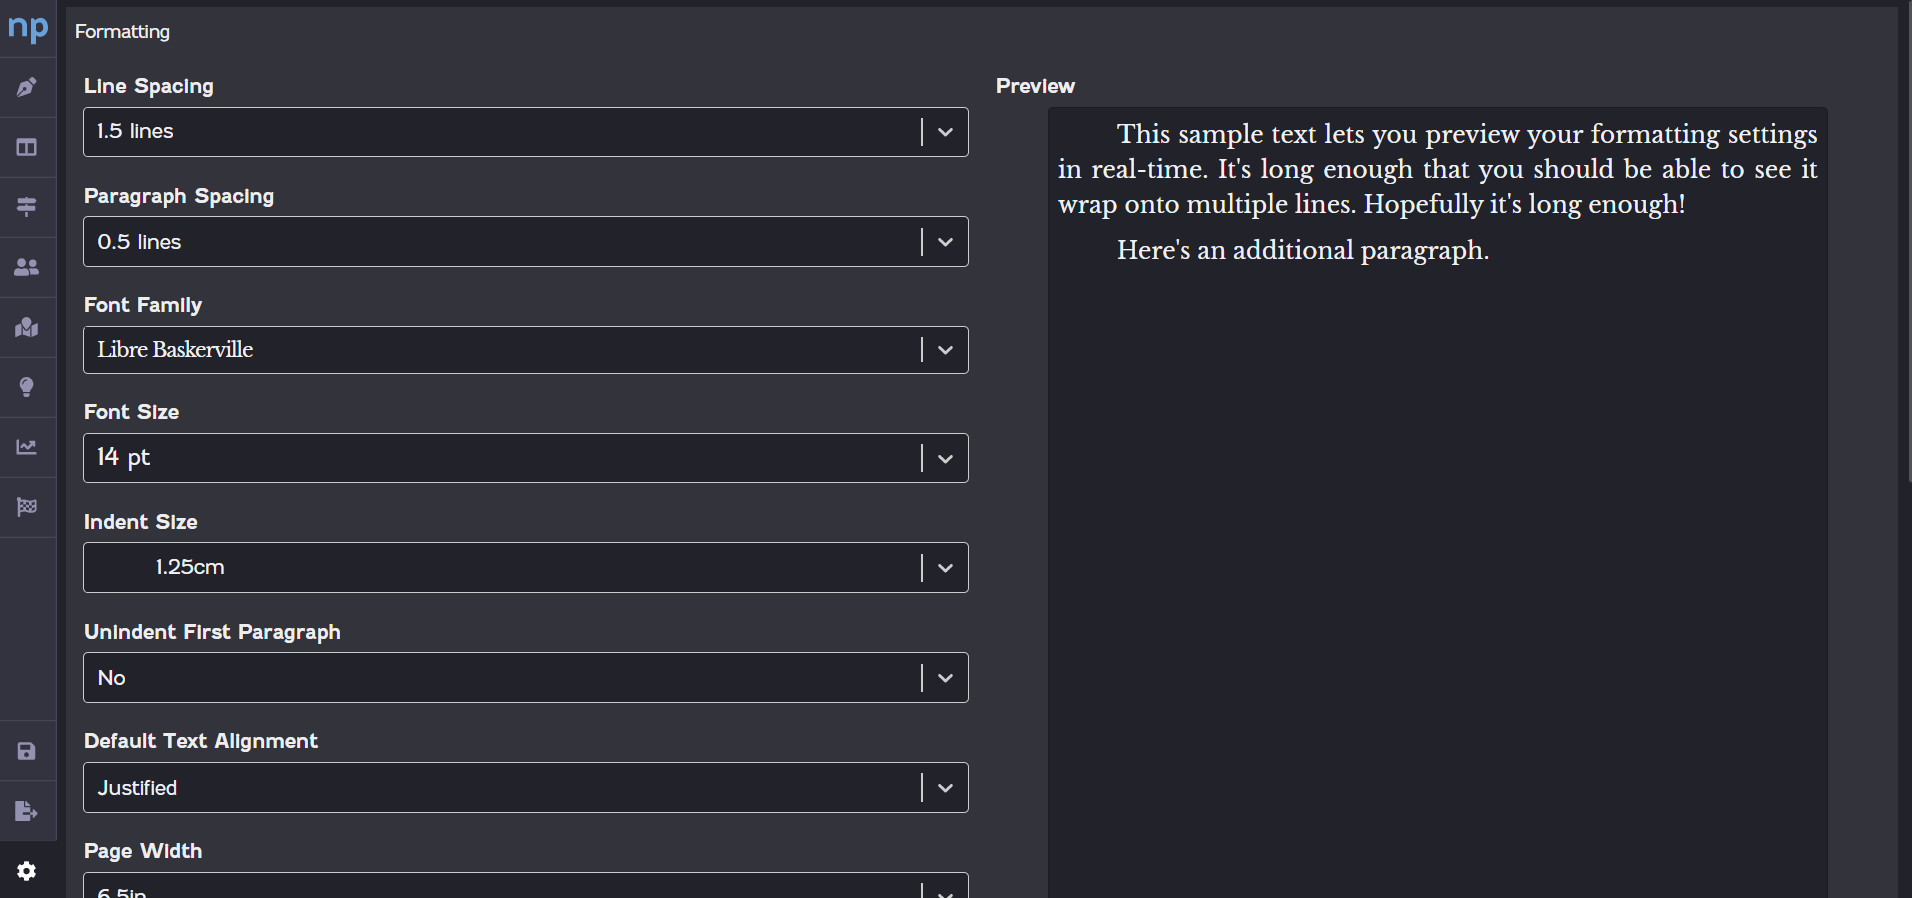
The Formatting settings determine how your Manuscript looks as you write. Any option you choose in the Formatting section will be reflected in the Preview box, allowing you to see how the setting looks before you return to writing. The following options are available in the Formatting section.
| Option | Description |
|---|---|
| Line Spacing | Indicate how far apart you want your lines of text to be from each other. |
| Paragraph Spacing | Indicate how far apart you want your paragraphs to be from each other. |
| Font Family | Select the font you want your text to appear in. |
| Font Size | Select the size for your text. |
| Indent Size | Indicate how much of an indent you want at the start of a new paragraph. |
| Unindent First Paragraph | Indicate whether you want an indent at the start of a new paragraph. |
| Default Text Alignment | Indicate the default text alignment, such as justified or left-aligned. Alignment can be changed for individual paragraphs using the formatting options in the editor. |
| Page Width | Indicate how wide you want your pages to be. |
Editor settings
The Editor section includes settings for the editor theme, how the editor scrolls as you write, and whether you want spelling and grammar checks enabled. The following options are available in the Editor section.
| Option | Description |
|---|---|
| Theme | Select a Dark or Light theme. |
| Typing Mode | Select a typing mode. In Typewriter mode, your cursor stays on the same line (or physical location) on your screen and the text automatically scrolls as you write. In Standard mode, your cursor progresses to the next line on the page until the end of the page is reached. |
| Spelling and Grammar Checking | Enable or disable spelling and grammar checks. If checks are enabled, you can further choose whether to show suggestions for spelling, grammar, and style. Suggestions are provided using ProWritingAid. |
| Smart Quotes | Enable or disable smart quotes. When enabled, this feature automatically replaces all of the straight quotation marks in your novel with smart quotes (also knows as curly quotes). |
Scene color labels
Color labels can be useful for grouping your scenes into custom categories. You can create custom labels, allowing you to use color labels in any way you can think of.
Here are some of the ways our users have gotten creative with color tags:
Keep track of which scenes you need to draft, revise, or edit
Track the character or POV for a scene
Indicate the mood of a scene
Track when you've introduced a new character or location
Color labels are created in the Scene Color Labels section on the Settings screen. The Settings screen comes preloaded with five default color labels, but you can delete these or change the colors as you please.
To create a new color label, click the Add button  . A color picker will appear, where you can select a color for the label using the slider or by entering a hex code. Once you've selected your color, click Add. Then click the empty label and enter a new label for the color.

To tag a scene with a color label, click the Options icon ![]() on the scene card you want to tag. Then select the color label on the menu that appears. Click anywhere out of the menu to save your selection.
on the scene card you want to tag. Then select the color label on the menu that appears. Click anywhere out of the menu to save your selection.

To remove a color label from a scene, click the Options icon ![]() on the scene card. Then select the Clear Color icon
on the scene card. Then select the Clear Color icon ![]() on the menu that appears.
on the menu that appears.

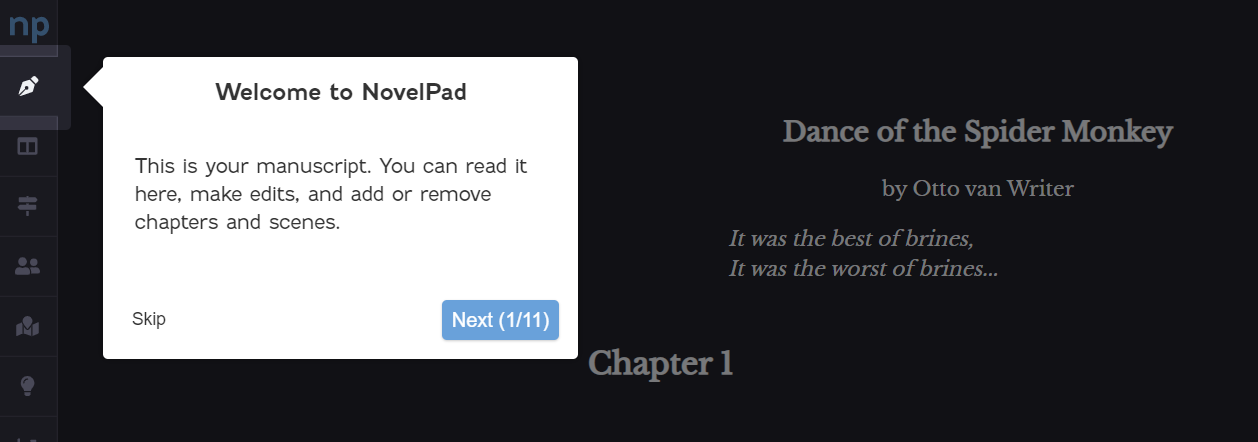
Onboarding tutorial
Click Restart to start a guided walkthrough of NovelPad. This is the same tutorial you saw when you first accessed NovelPad. You can revisit the tutorial at any time.