Notes
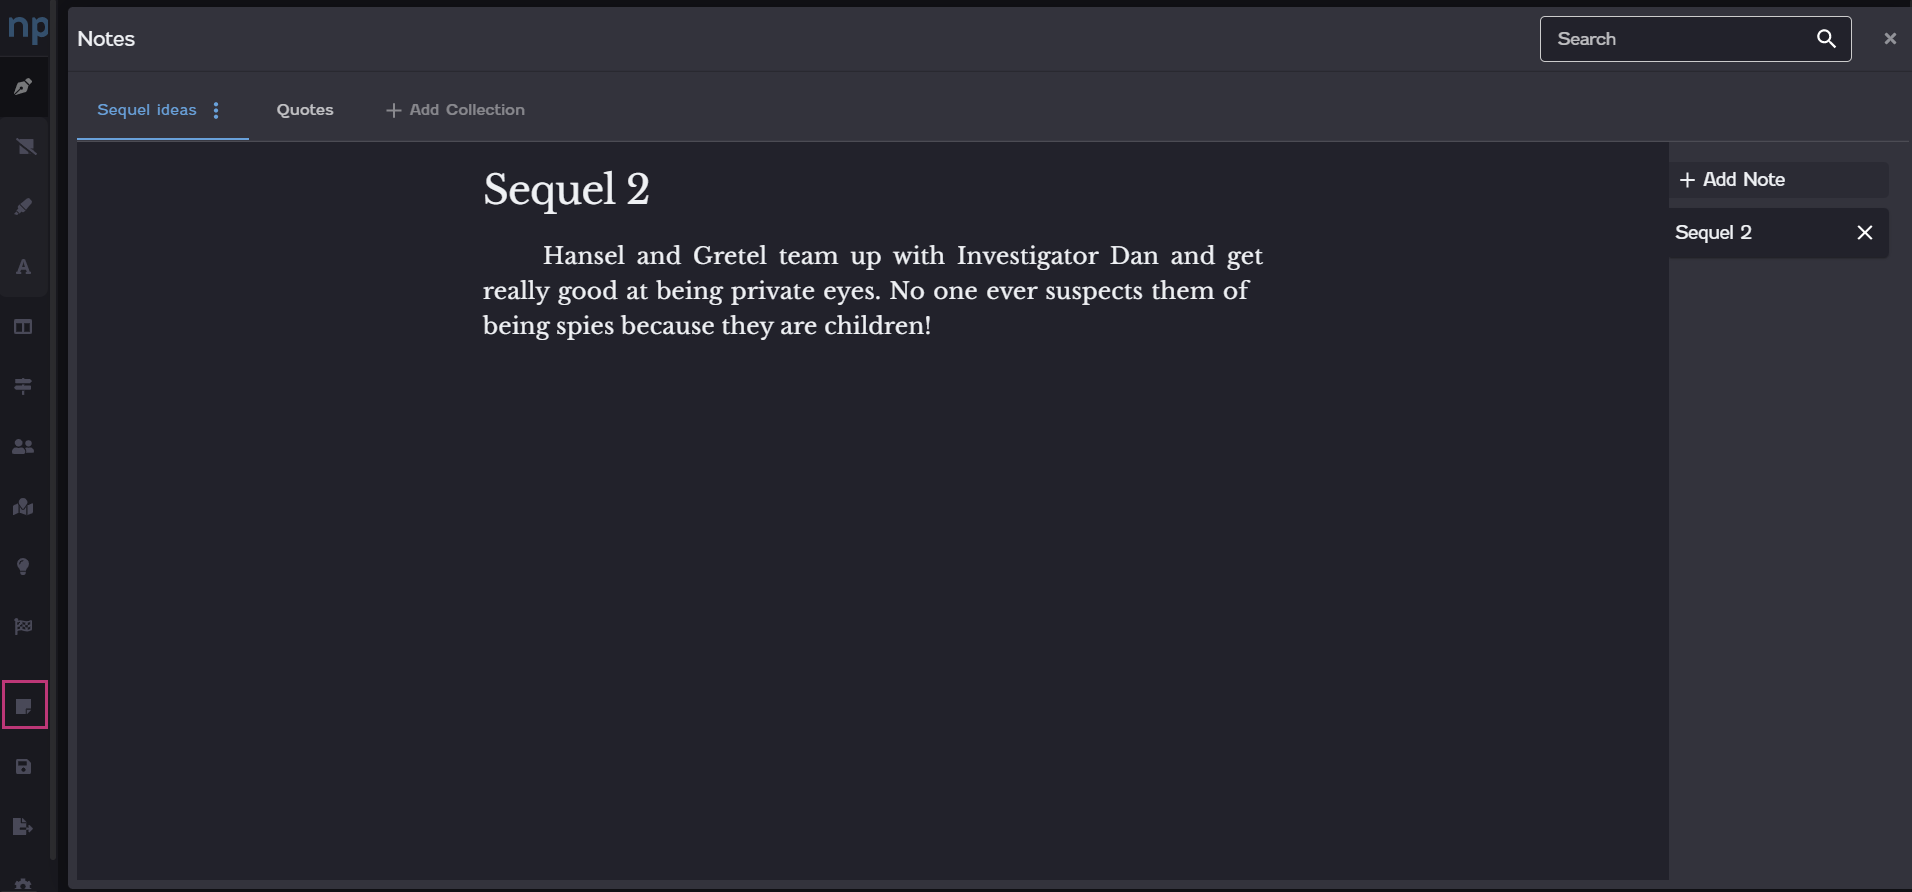
NovelPad includes a handy section just for your notes. The Notes board is useful for keeping your information about your novel that isn't your actual novel content, such as ideas for your sequel, inspirational quotes, details about your world, research, and so on. Notes can also be useful for keeping track of thoughts, to-dos, or any additional details you may want to associate with a scene but don't necessarily want to write in the scene itself. Think of the Notes board as a digital notebook.
Notes are organized into collections. You can have as many collections as you'd like and as many notes in a collection as you need. You can also link notes to your scenes, characters, plots, locations, and even other notes—just like a wiki! Adding a link in a note provides quick access to the content that the link references.
Collections
Collections are customizable groups of notes. Think of a collection as the subject divider in your notebook, allowing you to group notes that are related to each other. For example, you could have a collection for each of your characters, a collection for your research notes, or a collection where you keep mood notes such as links to playlists or images.
To add a collection, click Add Collection at the top of the Notes board. A new collection heading appears. Type in the title for your collection, and then press Enter.
To rename a collection, click the Options icon ![]() on the heading of the collection. Then select Rename Collection on the menu that appears. On the Edit Collection Title dialog, type in the new title for your collection, and then click Save.
on the heading of the collection. Then select Rename Collection on the menu that appears. On the Edit Collection Title dialog, type in the new title for your collection, and then click Save.
You can quickly copy the contents of a collection by cloning a collection. Cloning a collection creates an exact copy of all the notes in the collection. For instance, let's say you've created a detailed character sheet for your main character. You can easily copy that sheet to a collection for another character by cloning the collection.
To clone a collection, click the Options icon ![]() on the heading of the collection. Then select Clone Collection on the menu that appears. On the Clone Collection dialog, type in a title for the new collection, and then click Clone.
on the heading of the collection. Then select Clone Collection on the menu that appears. On the Clone Collection dialog, type in a title for the new collection, and then click Clone.

You can export a collection of notes to Microsoft Word.
To export a collection, click the Options icon ![]() on the heading of the collection. Then select Export Collection on the menu that appears. The collection will download to your computer as a .docx file with the same name as the collection.
on the heading of the collection. Then select Export Collection on the menu that appears. The collection will download to your computer as a .docx file with the same name as the collection.

If you don't need a collection of notes anymore, you can delete it at any time.
To delete a collection, click the Options icon ![]() on the heading of the collection. Then select Delete Collection on the menu that appears. A confirmation dialog appears, confirming that you want to delete the collection. Click Okay to delete the collection.
on the heading of the collection. Then select Delete Collection on the menu that appears. A confirmation dialog appears, confirming that you want to delete the collection. Click Okay to delete the collection.
Deleting a collection permanently deletes all of the notes in that collection. The deletion cannot be undone.
Notes
Notes are individual items within a collection. A note can be as long or as short as you want. Any content in a note can also be linked to your scenes, characters, plots, locations, and even other notes—just like a wiki!
To add a note, click Add Note on the right side of a collection. Type in the name of the note, and then press Enter.
To rename a note, simply edit the heading at the top of the note. The name on the note tab will change automatically as you type.
If you don't need a note anymore, you can delete it at any time.
To delete a note, click the Delete icon ![]() on the corresponding note tab. A confirmation dialog appears, confirming that you want to delete the note. Click Okay to delete the note.
on the corresponding note tab. A confirmation dialog appears, confirming that you want to delete the note. Click Okay to delete the note.
Deleting a note permanently deletes the note and its contents. The deletion cannot be undone.

Links in notes
You can add links in your notes that point to other content in your novel, allowing you to create wiki-style references in your notes. You can add links to existing scenes, plot cards, characters, locations, and other notes. Links provide quick access to the content that you've referenced.
To add a link in a note, highlight the content you want to add the link to. On the menu that appears, click the Link icon ![]() . On the Create Link dialog, select a filter to search for the content you want to link to. Then select the item you want to link to.
. On the Create Link dialog, select a filter to search for the content you want to link to. Then select the item you want to link to.
For example, to create a link to the Gretel character, highlight "Gretel". Click the Link icon ![]() on the menu that appears. On the Create Link dialog, select the Character filter. Then click the Gretel item.
on the menu that appears. On the Create Link dialog, select the Character filter. Then click the Gretel item.

Once you've added a link to another element, you can quickly see information about that element without needing to leave the Notes board. Click a link to display the following information, based on the linked element.
| Linked element | Quick information |
|---|---|
| Character |
|
| Scene |
|
| Plot |
|
| Location |
|
| Note |
|
If you want to remove a link, you can do so at any time.
To remove a link, highlight any part of the linked content. On the menu that appears, click the Link icon ![]() . On the Create Link dialog, click Remove.
. On the Create Link dialog, click Remove.
