Scene revisions
As you're writing, you may imagine a scene panning out in a few different ways. For example, perhaps you have multiple thoughts about how a conversation between your characters plays out, or maybe you want to try setting that conversation in several different environments or moods. With scene revisions, you can write all of those iterations down without creating clutter in a scene or chaos in your Manuscript. Scene revisions allow you to iterate on scene content and try out new ideas while only having one version at a time in your novel.
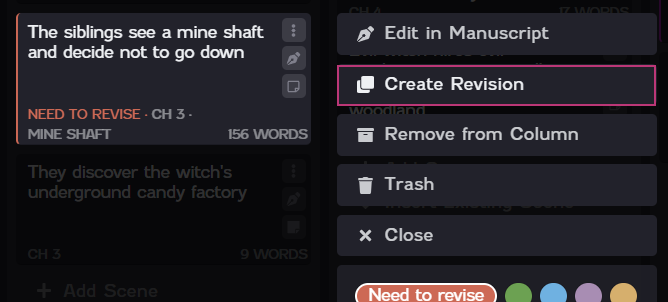
To create a scene revision, click the Options icon ![]() on the scene card you want to create a revision for. Then click Create Revision on the menu that appears. The Revisions dialog opens, where you can create a scene revision.
on the scene card you want to create a revision for. Then click Create Revision on the menu that appears. The Revisions dialog opens, where you can create a scene revision.
If revisions already exist for a scene, access the Revisions dialog by clicking Manage Revisions.
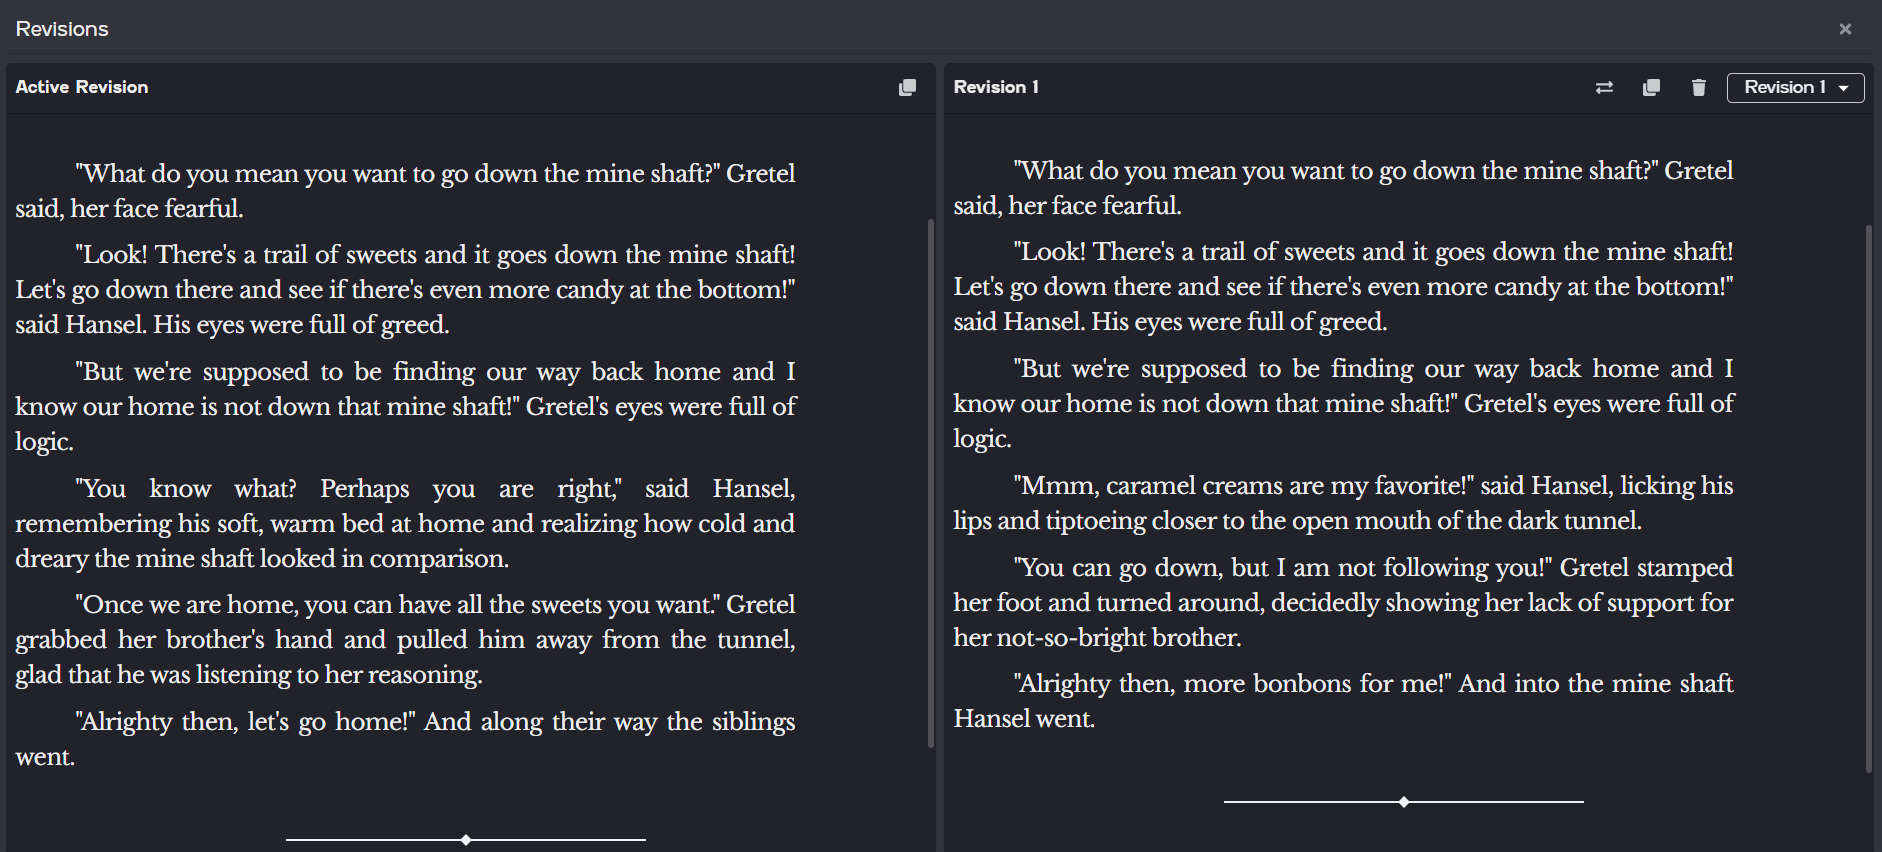
The Revisions dialog is where you'll write your scene revisions. When you first create a revision for a scene, you'll see your Active Revision (the version currently in the novel) on the left side of the dialog and Revision 1 (your new version) on the right side of the dialog.
Initially, the versions will look the same. To create the new version, you'll type your new content on the Revision 1 side of the dialog.
For example, let's say you have a tipping point scene where your characters can either make a good decision or a bad decision. In your original revision, you write the characters making a good decision, such as going home instead of following a trail of candy down a mine shaft. However, because you know that bad decisions push plots forward, you decide to write a new version of the scene where the characters go down the mine shaft. If you decide to use the new scene, you can simply swap the revisions.
The Active Revision is the version that is currently showing in your novel. When you read the content in your chapter or your Manuscript, this is the version that will display. If you decide you'd rather read the alternate version, you can swap the revision out.
To swap a revision, open the Revisions dialog by clicking the Options icon ![]() on the scene card and then clicking Manage Revisions. In the Revisions drop-down on the dialog, select the revision you want to swap to your Active Revision. Then click the Set as Primary icon
on the scene card and then clicking Manage Revisions. In the Revisions drop-down on the dialog, select the revision you want to swap to your Active Revision. Then click the Set as Primary icon ![]() to set the revision as the Active Revision.
to set the revision as the Active Revision.
When you read through your chapter or Manuscript, you'll now see Revision 1 as the Active Revision.
You can create as many revisions of a scene as you'd like. Perhaps you're changing the whole scene or maybe you're only changing a single word.
To create another revision of your original scene, click the Create Revision icon ![]() in the Active Revision (left) section. A copy of the Active Revision will appear on the right side of the dialog as a new revision.
in the Active Revision (left) section. A copy of the Active Revision will appear on the right side of the dialog as a new revision.
You can also create a revision of a revision, allowing you to riff off your riff.
To duplicate a revision, click the Duplicate icon ![]() in the Revision (right) section. A copy of the revision will appear on the right side of the dialog as a new revision.
in the Revision (right) section. A copy of the revision will appear on the right side of the dialog as a new revision.
To delete a revision, select the revision in the Revision drop-down. Then click the Delete icon ![]() .
.
Deleted scene revisions do not go to the Archive or in the Trash. Deleting a scene revision is a permanent deletion.
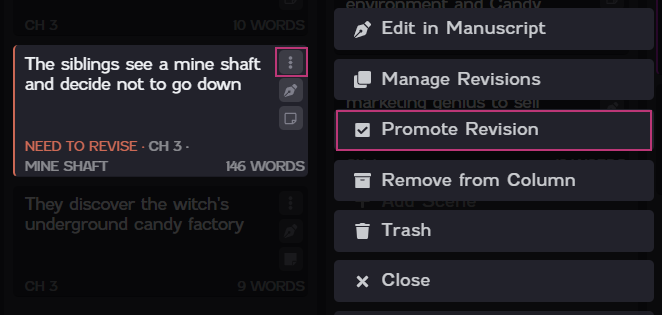
When you've decided on the revision you'd like to keep going forward, you can promote the revision. "Promoting" a revision essentially means that you want the current revision to be the one revision that rules them all. When you promote a revision, all other revisions are deleted. A confirmation dialog will display to confirm that you want to promote the revision and delete the other scene revisions.
To promote a revision, click the Options icon ![]() on the revision's scene card. Then click Promote Revision. On the confirmation dialog that appears, click Okay to delete all other revisions of the scene.
on the revision's scene card. Then click Promote Revision. On the confirmation dialog that appears, click Okay to delete all other revisions of the scene.
The Promote Revision option only displays if revisions exist for the scene.