Manuscript
The Manuscript contains the entire text of all your scenes on the Chapters board. This view is how your novel would look if you compiled all of your chapters and scenes into one big document. Chapters are divided by title and scenes are separated by a line divider. It is, essentially, your novel from beginning to end. You can write directly in the Manuscript, including adding and removing scenes. Any changes that you make in the Manuscript are reflected in the corresponding scene cards and chapter cards. For example, if you change a chapter title in the Manuscript, the chapter title will also be changed on the Chapters board.

You can change the overall look of the Manuscript, such as the font, paragraph and line spacing, and page width, using the options on the Settings screen. For more information about these options, refer to Settings.
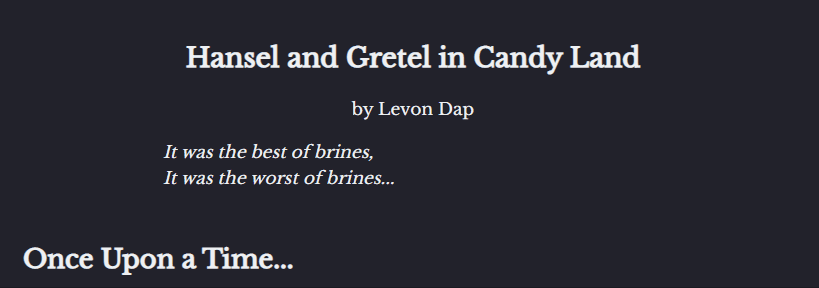
The Manuscript is where you can edit the title of your novel. This is the same title that appears on your novel on the Bookshelf.
To edit your novel's title, simply change the bold title text at the top of the Manuscript. Your changes will be automatically saved.
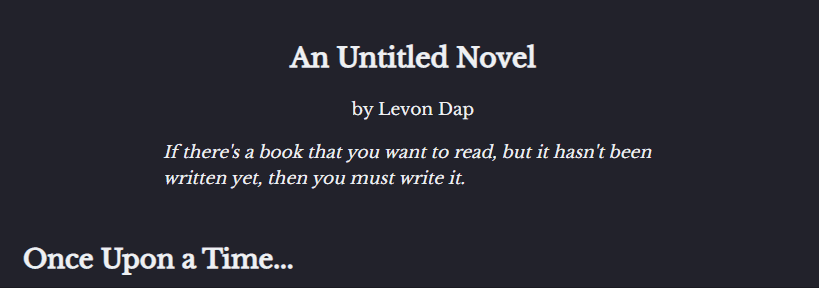
The Manuscript is where you can edit the author name that appears on your novel. When you update the author name in the Manuscript, the name will automatically update on the novel on the Bookshelf.
To edit the author name, simply change the text at the top of the Manuscript. Your changes will be automatically saved.
By default, the author name is the pen name you sign up for your NovelPad account with. Changing the pen name in your account will change the author name for any novels you create after the change.
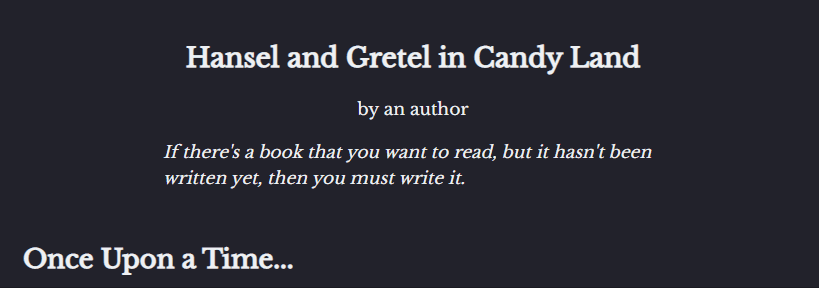
The novel description is the italicized text between the author name and the first chapter heading. You can use this text for anything, such as an introductory quote or as your novel's cover blurb.
To edit your novel's description, simply change the text at the top of the Manuscript. Your changes will be automatically saved.
You can add a scene directly within the Manuscript, allowing you to quickly strike while inspiration iron is hot.
To add a new scene, press Enter at the end of a chapter title. A line divider will appear, indicating that a new scene has been added. You can also create a new scene by pressing Ctrl+Enter on Windows or Cmd+Enter on Mac.
The new scene will also appear on the Chapters board on the corresponding chapter card. By default, the title of the scene card will be "Untitled," and it will be the first scene in the chapter. You can rearrange the scene card on the Chapters board as needed.

You can delete a scene directly within the Manuscript.
To delete a scene, place your cursor in the empty scene, and then press Backspace (Delete on a Mac). The line divider will disappear, indicating that the scene has been removed. Note that the content of the scene must first be deleted.
This method is more permanent than archiving a scene. While the scene card will be archived, the content of your scene will be permanently deleted if you've erased it using Backspace (Delete). The scene will also disappear from the Chapters board. If you don't want to necessarily delete the content of the scene but just want to remove the scene from the Manuscript view, refer to Archive or delete a scene.

As you write content, there are some helpful options for formatting and correcting happy mistakes.
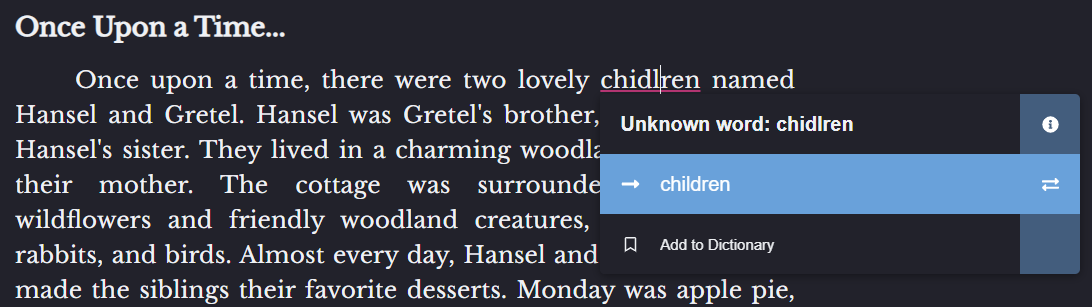
By default, ProWritingAid integration is enabled, which provides suggestions for spelling, grammar, and style. You can turn this integration off on the Settings screen.
To access the suggestions, left-click an underlined word. Then select the suggestion you'd rather use. For example, if you've misspelled a word, you can select the correct word from the list, or you can tell the dictionary you did it on purpose and add the word to your novel's dictionary.
The dictionary applies to all novels you've created in NovelPad. Any word you add to the dictionary in one novel will not count as a misspelled word in another novel.
The text editor also includes a pop-up menu that contains a variety of formatting options, including bold, justification, block quote, heading styles, and highlight. The pop-up menu also displays the number of words in the scene your cursor is currently in and the number of words you've selected.
To access the formatting options, highlight a selection of text. The menu automatically displays.

If you or an editor have added comments to a scene, you can hide the comments in the editor.
To hide comments, click the Hide Comments icon ![]() on the menu at the top of the editor. Click the icon again to show comments.
on the menu at the top of the editor. Click the icon again to show comments.

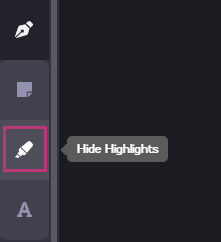
You can choose to display or hide any highlights in your text, which can make your text easier to read, as needed.
To hide highlights, click the Hide Highlights icon ![]() on the menu at the top of the editor. Click the icon again to show highlights.
on the menu at the top of the editor. Click the icon again to show highlights.
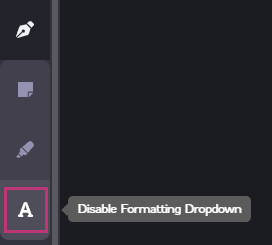
If you're a minimalist or just get easily distracted, you can disable the formatting menu from appearing when you highlight text. When the formatting menu is disabled, you can still use shortcut keys (such as Ctrl+B) to format your text.
To disable the formatting menu, navigate to the Manuscript board. Then click the Disable Formatting Dropdown icon ![]() on the menu that drops down from the Manuscript icon. Click the icon again to enable the formatting menu.
on the menu that drops down from the Manuscript icon. Click the icon again to enable the formatting menu.
Press Ctrl+F (or Cmd+F on a Mac) to bring up the Find and Replace tool. By default, the tool displays only the Find function. Click the Expand icon ![]() to show the Replace function. Click the Close icon
to show the Replace function. Click the Close icon ![]() to close the Find and Replace tool.
to close the Find and Replace tool.
To search for a term in your Manuscript, enter a term in the Find field and then press Enter. You can navigate through the results by clicking Previous or Next.
To replace a term, enter the new term in the Replace field. Click Replace to replace a single instance of a found term. Click Replace All to replace all instances of the found term.
There are certain common words that are not included in the search functionality, such as "the" and "and". If the word is too common, it may be included on this list and you may not be able to find the word using the find and replace feature.
