Locations
The Locations board allows you to see the scenes in your novel based on the locations you've tagged them with. You can use this board to not only keep track of the locations you write into your novel but also to analyze anything that might be important to you about what goes on in those locations. The Locations board can show you the scenes you've tagged with a location, but you can also use locations for multi-functional views on the Insights board.
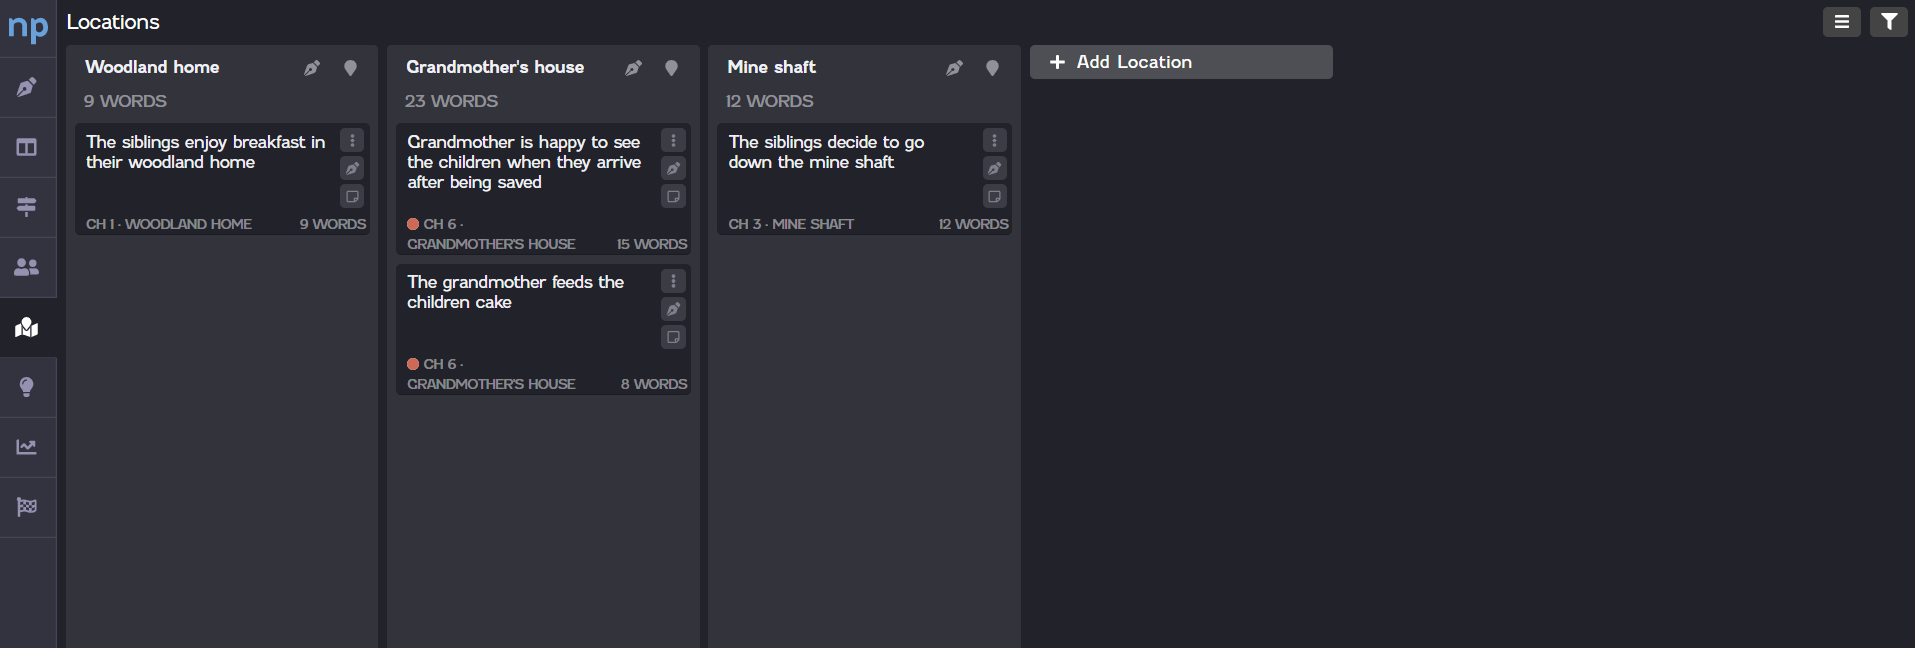
Location cards
To use the Locations board, you'll need to manually add each of the locations you want to track and then tag scenes with that location for them to appear on the card. You can also add background information to each of your location cards.
For a scene to appear on the Locations board, you'll first need to create a card for that location.
To add a new card to the Locations board, click Add Location at the end of your locations list. A new location card will appear, where you can enter the location name. Click Add to add the location card.
You need to give the new card a name. If you click away or press Enter without entering a name, the location card will not be added.
The new location card will be added to the end of your locations list. You can rearrange the card on the Locations board as needed.
Once you've added the location you want to track, you can tag scenes in your novel with that location. When a scene is tagged with a location, the scene will display in the corresponding location card on the Locations board.
To tag a scene with a location, click the Options icon ![]() on the scene card you want to tag. Click the Location drop-down on the menu that appears, and then select the location you want to tag the scene with. Click anywhere out of the menu to save your selection.
on the scene card you want to tag. Click the Location drop-down on the menu that appears, and then select the location you want to tag the scene with. Click anywhere out of the menu to save your selection.
Once you tag a scene card, you'll see the location appear in the details on the scene card. The scene card will also now display on the location card on the Locations board.
If you need to change a location name, you can do so at any time. There are two ways you can edit the card name: directly on the card or on the Edit Location dialog.
To rename a location card directly on the card, click the name of the location card. The card name will become editable. Enter the new location name, and then press Enter to save the new name.
You can also edit the name of a location card by clicking the Edit Location icon ![]() at the top of the card. The Edit Location dialog will open, and you can edit the location name in the Name field.
at the top of the card. The Edit Location dialog will open, and you can edit the location name in the Name field.
You can view the content for all of the scenes on a location card by clicking the Edit icon ![]() at the top of the location card. The scene contents will display in the Editor, which will include all of the scenes added to the location card, each separated by a line divider. For example, if you view a location card that contains four scene cards on the Locations board, the contents of all four scenes will display in the Editor view.
at the top of the location card. The scene contents will display in the Editor, which will include all of the scenes added to the location card, each separated by a line divider. For example, if you view a location card that contains four scene cards on the Locations board, the contents of all four scenes will display in the Editor view.
Any changes you make in the Editor view will apply to the individual scene you made the change in. So let's say you added a new paragraph in the Editor view and that paragraph was in the first scene (in this case, the first section before the first line divider). If you then view that scene on its scene card or anywhere else in NovelPad, such as the Manuscript, the new paragraph will be there.

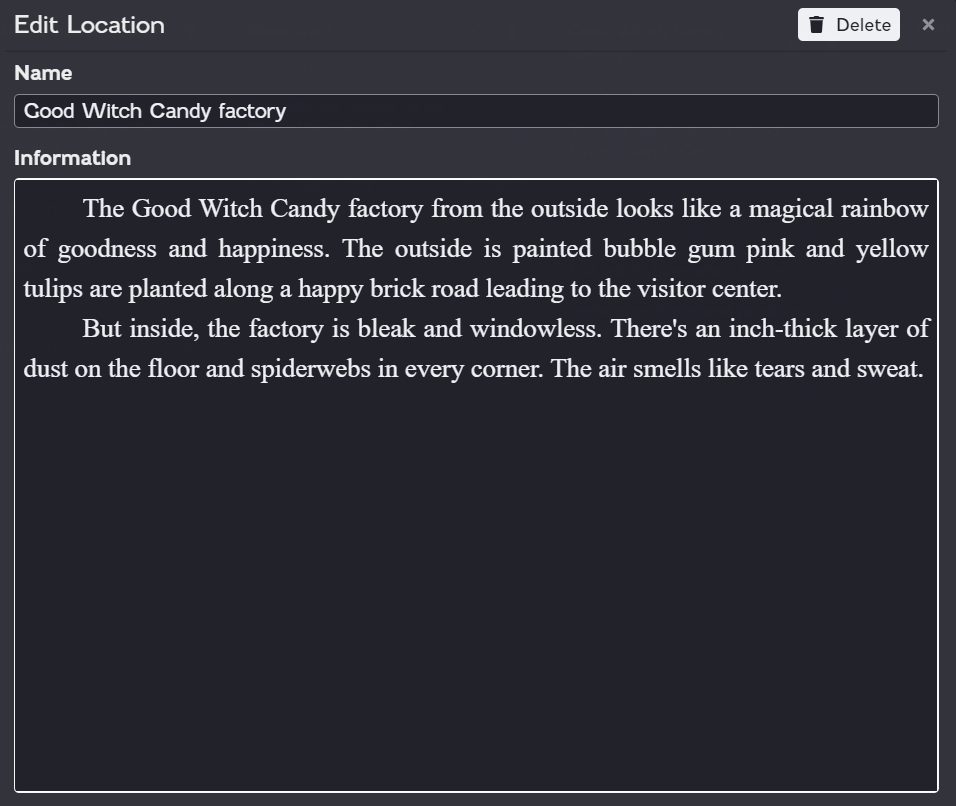
You can add location information, such as a description of the location or a reminder of when in your novel the location appears, on the Edit Location dialog. To access the Edit Location dialog, click the Edit Location icon ![]() at the top of the location card. You can add the following information for a location card.
at the top of the location card. You can add the following information for a location card.
Name. Edit the location name. This is the title of the location card.
Information. Enter as much information about your location as you want to.
Organize the Locations board
You can organize the overall layout of the Locations board to suit your needs, including the orientation of the board and the order of your location cards. You can also filter location cards to quickly locate your locations based on keywords.
You can switch the orientation of the Characters board between a horizontal layout and a vertical layout using the Orientation icon at the top of the board. Note that the look of the icon will change based on the current layout.
To switch to a horizontal layout, click the Horizontal Orientation icon ![]() at the top of the board.
at the top of the board.
To switch to a vertical layout, click the Vertical Orientation icon ![]() at the top of the board.
at the top of the board.
The functionality of each layout is the same, so you can select your orientation purely on preference.
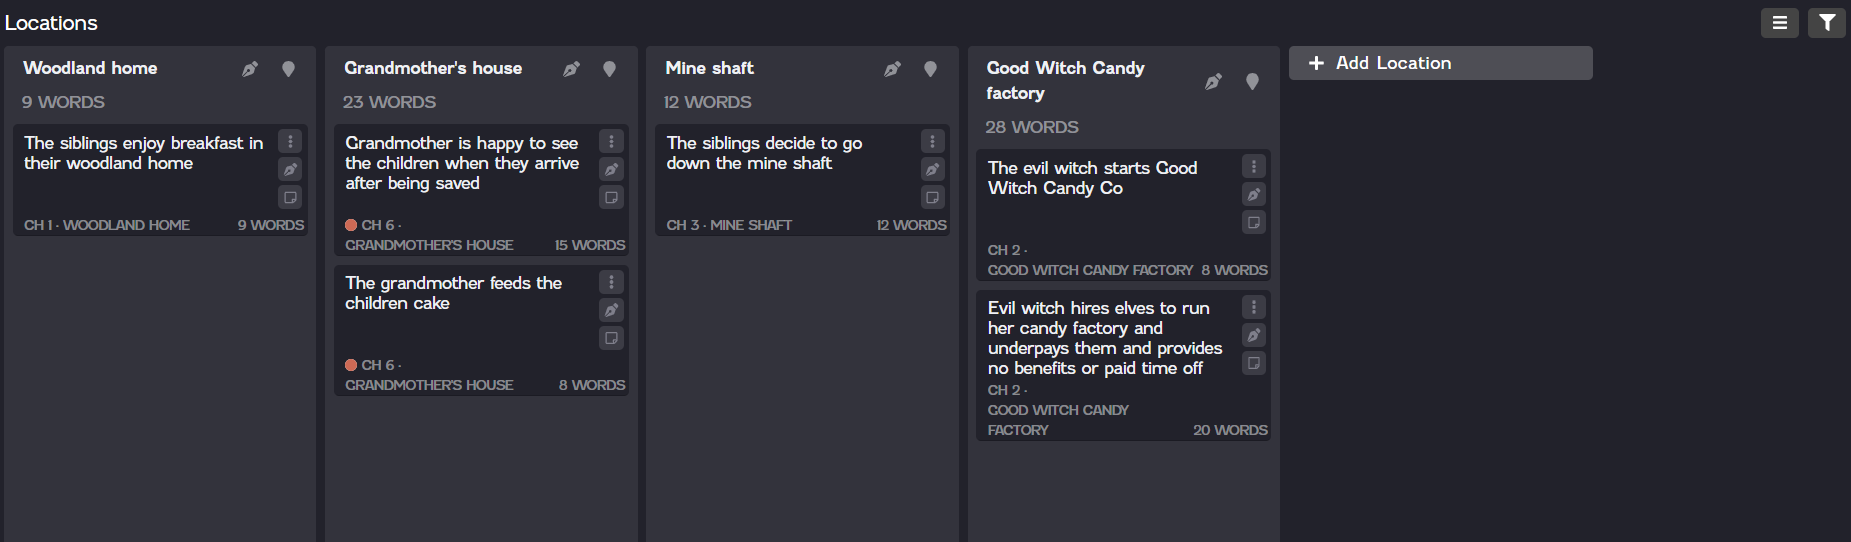 | 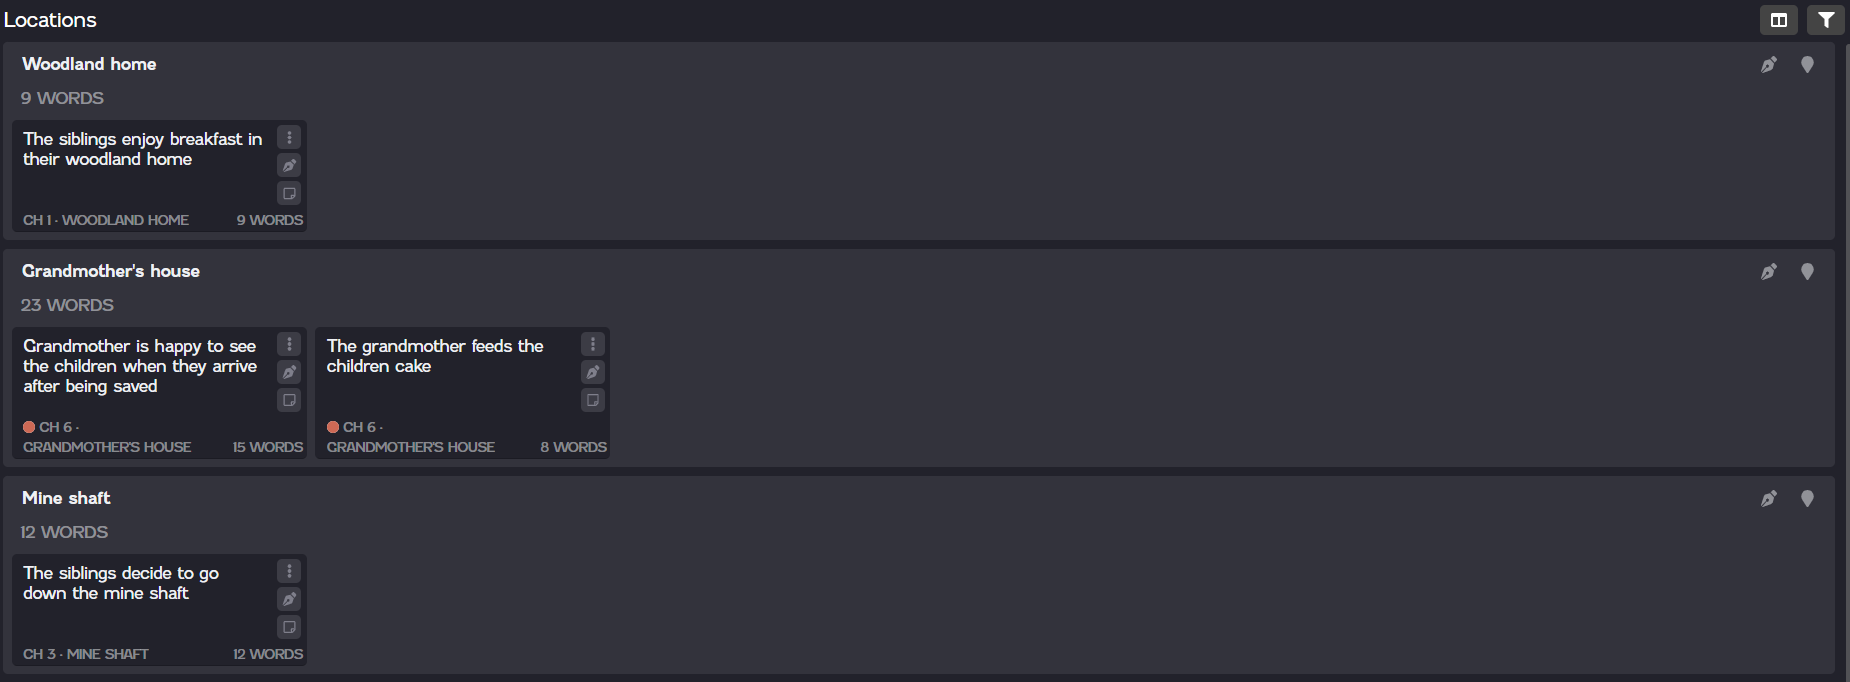 |
| Vertical orientation | Horizontal orientation |
You can rearrange the location and scene cards on the Locations board by simply dragging and dropping them into place.
To rearrange a location card, click in an empty area in the location heading and drag the card to another spot on the board.
To rearrange a scene card, click in an empty area on the scene card and drag the card to another spot on the board. You can drag a scene card to another spot in the same location card or you can drag it to a different location card. If you drag it to another location card, the location tag for the scene automatically updates to the new location.
Rearranging location or scene cards on the Locations board does not change the order of the scenes on the Chapters board or your Manuscript.
 |  |
| Rearrange a plot card | Rearrange a scene |
If you have a lot of location cards, you may find it easier to use the filter to quickly find a location card rather than needing to scroll through your entire list.
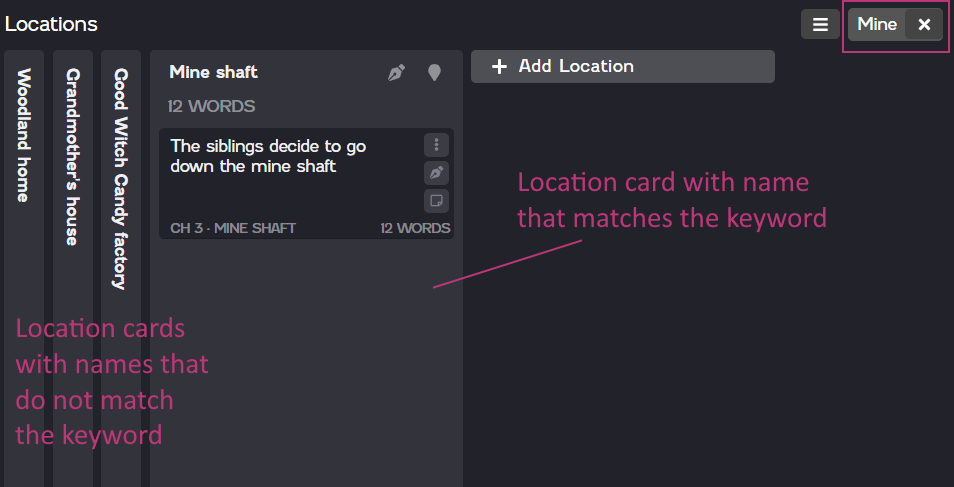
To search for a location using the filter, click the Filter icon ![]() at the top of the Locations board. Then enter a location name in the field. Cards with names that include the keyword will stay expanded, while cards that do not include the keyword will collapse.
at the top of the Locations board. Then enter a location name in the field. Cards with names that include the keyword will stay expanded, while cards that do not include the keyword will collapse.
Entries in the Filter field are case-sensitive.
You can delete a location card at any time. Note that deleting a location card does not delete or remove the scenes associated with that location from anywhere else in NovelPad. However, location information on the Edit Location dialog will be lost.
To delete a location card, click the Edit Location icon ![]() at the top of the location card. The Edit Location dialog will open. Click Delete on the Edit Location dialog. Then click Okay on the confirmation dialog that appears.
at the top of the location card. The Edit Location dialog will open. Click Delete on the Edit Location dialog. Then click Okay on the confirmation dialog that appears.